
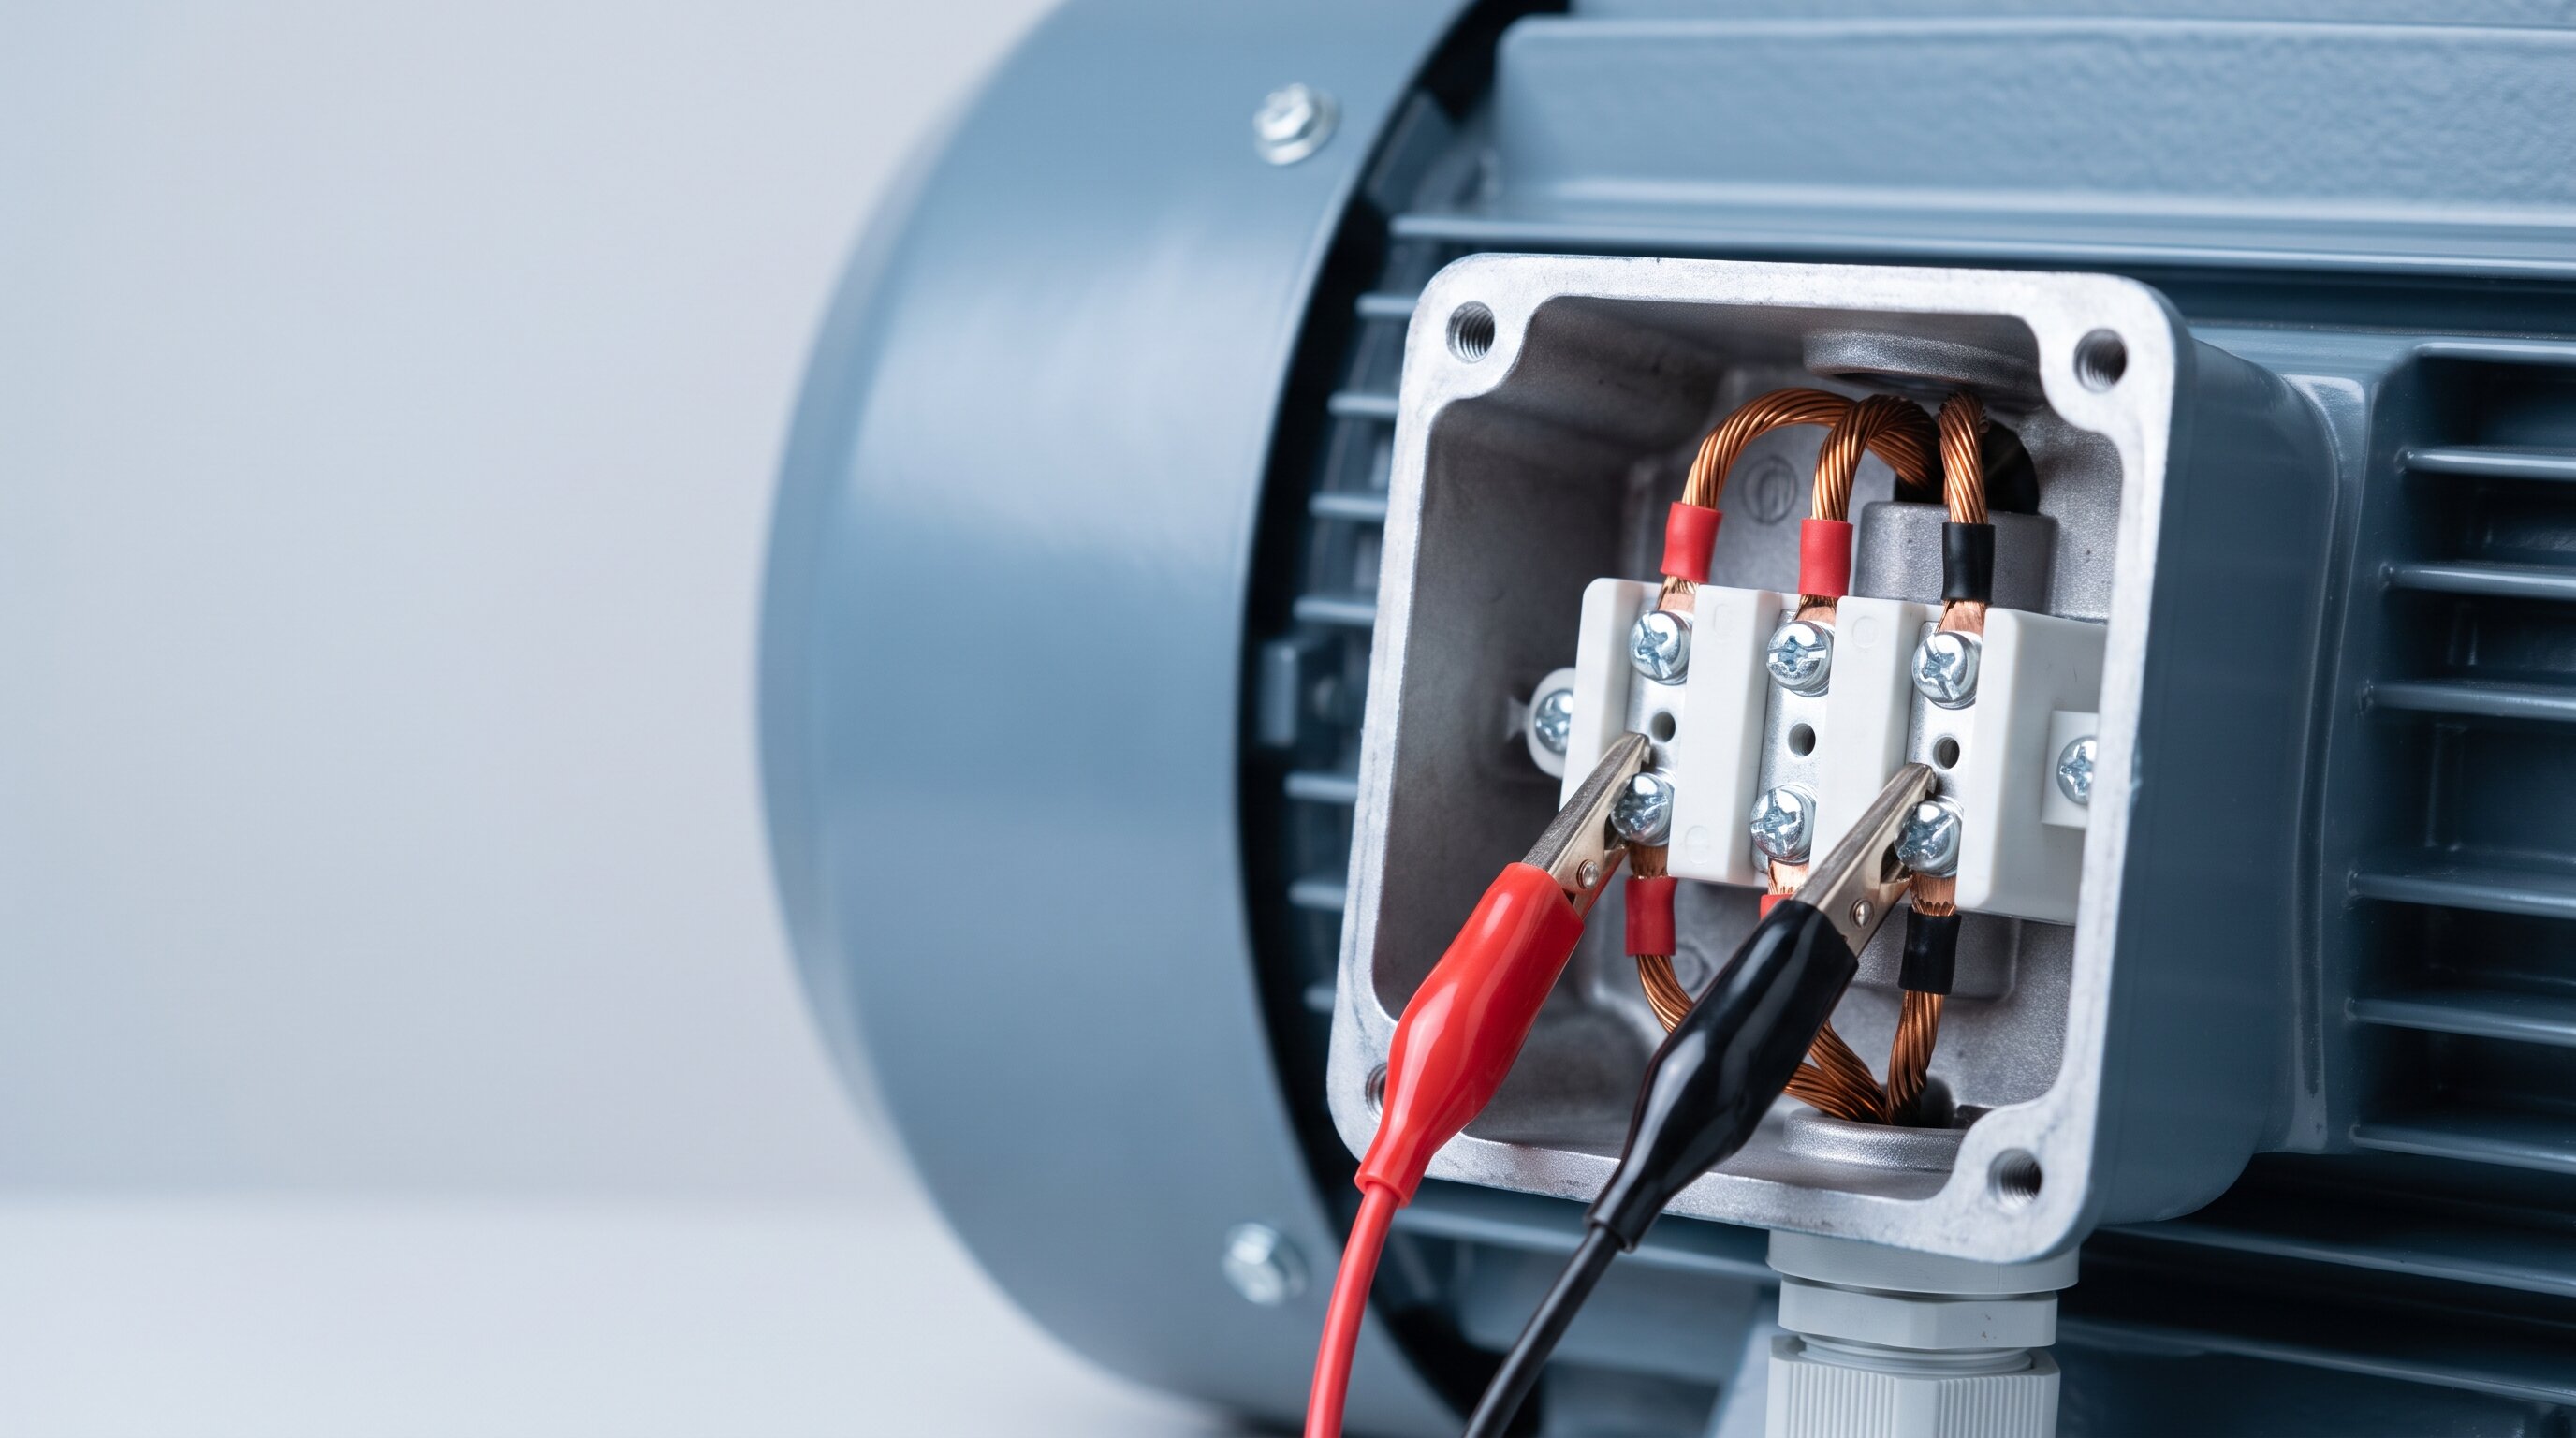
When a three-phase motor stops running, trips its overload, or starts drawing current it shouldn't, the fastest way to a decision is a short sequence of tests you can run with a multimeter, a megohmmeter, and a clamp meter. Done in the right order, those tests will tell you whether the motor is genuinely bad, whether the fault lives upstream in the starter or drive, or whether the problem was never electrical at all.
What follows is the sequence a repair shop uses, adapted for the field. It works on general-purpose AC induction motors—the workhorses on conveyors, pumps, fans, and machine tools—and most of it applies to any industrial motor you'd find in a plant.
Every test below except the final running check is performed with the motor de-energized. Apply lockout/tagout, verify the absence of voltage at the motor terminals with a meter you've proven on a known source, and disconnect the motor leads from the starter or drive so you're testing the motor by itself and not the whole circuit. If the motor is fed by a VFD, the drive's DC bus holds a charge after power is removed—wait out the manufacturer's discharge time and verify before opening anything.
Start mechanically, because it costs nothing and rules out the simplest failures. Turn the shaft by hand. It should spin freely and smoothly, with no grinding, catching, or roughness, and no significant play when you push it side to side or in and out. A shaft that won't turn, or that feels gritty, points at bearings before it points at windings.
Then look the motor over. Scorch marks on the frame, a burnt insulation smell, melted lead insulation, a cracked conduit box, water staining, or a packed-solid cooling fan cover all narrow the search immediately. Check the fan and its shroud—an overheating motor is very often just a motor that can't breathe.
With the leads disconnected, measure resistance phase to phase: T1 to T2, T2 to T3, and T1 to T3. On a healthy three-phase motor these three readings should be nearly identical. A commonly used field guideline is that they should agree within about 5%; a meaningful imbalance suggests a shorted turn or a partially open winding.
Two results tell you the motor is finished on the spot. An open circuit—infinite resistance on one leg—means a broken winding or a bad internal connection. A reading dramatically lower than the other two means shorted turns. On small motors, winding resistance can be well under one ohm, low enough that your meter's own lead resistance matters; short the leads together first and subtract that value, or use a low-resistance meter for anything under a few ohms.
This is the test that catches the failures a multimeter misses. Insulation can be badly degraded and still read as a perfectly good open circuit on an ordinary meter, because the meter applies only a few volts.
Connect the megohmmeter between the motor windings (all three leads tied together) and the motor frame, and make sure the frame connection lands on bare metal, not paint. IEEE 43 recommends a DC test voltage of 500 V for machines rated below 1000 V, which covers virtually every 208 V, 480 V, and 600 V motor in a typical plant. Apply the test voltage for one minute and read the result.
For minimum acceptable values, IEEE 43 specifies 5 MΩ for random-wound stator windings and form-wound windings rated below 1 kV—the category most general-purpose industrial motors fall into—with readings corrected to a 40°C reference temperature. Modern form-wound AC coils have a much higher recommended minimum of 100 MΩ, and older pre-1970 windings and field windings use the classic kV + 1 MΩ rule. Interpret in context rather than against a single number:
Temperature and moisture both move this number substantially, so record the motor temperature alongside the reading and always compare like with like. A motor that's been sitting in an unheated building over a wet weekend may read low simply from absorbed moisture, and may recover after being dried out.
If you don't have a megger on hand, you can at least check continuity from each motor lead to the frame with a multimeter. Any continuity at all means a solidly grounded winding and a motor that must not be energized. Understand the limitation, though: passing this check does not mean the insulation is good. It only means the winding isn't already shorted to the frame. The megger test is what actually qualifies the motor.
If the motor passes the de-energized tests, reconnect it and take live readings with a clamp meter while it runs under its normal load.
Bearing failure is one of the most common ways an industrial motor dies, and it announces itself well before the motor stops. With the motor running, listen for growling, rumbling, or a periodic clicking. Check the bearing housings with an infrared thermometer—a bearing running significantly hotter than the rest of the frame or than its counterpart on the other end is failing. Excessive vibration, especially if it's changed recently, deserves investigation before it takes the shaft or the windings with it.
Also check alignment and belt tension. Misalignment and over-tensioned belts load bearings far beyond what they were designed for and are among the most common root causes behind “the motor keeps failing.”
On single-phase motors, a motor that hums but won't start is the classic signature of a failed start capacitor. With power off and the capacitor discharged, disconnect and test it on a meter with a capacitance function; the reading should be within the tolerance printed on the capacitor's case. A bulged case, leaking electrolyte, or a reading far below the rating means replace it. Note that a run capacitor can also fail and produce weak running performance and elevated current rather than a hard failure to start.
Most of what kills industrial motors traces back to a handful of causes: bearing wear from age, contamination, or poor lubrication; overheating from overload, blocked ventilation, or high ambient temperature; moisture and contamination attacking the insulation system; voltage unbalance, single-phasing, and power quality problems; misalignment and excessive belt tension; and simple insulation aging accelerated by heat and frequent starts. Almost every one of those is visible in the tests above before the motor actually fails.
The decision usually comes down to the size and role of the motor rather than a fixed rule. A small general-purpose motor with a burnt winding is often replaced. A larger motor, a servo or spindle motor, or anything specialized—a specific frame, mounting, feedback device, brake, or gearbox combination—is frequently far more economical to repair, particularly when replacement lead times run long or the exact unit is no longer manufactured.
A quality shop repair goes well beyond replacing what failed: bearings and seals replaced with new, broken case parts, terminals, and connections repaired or replaced, the stator rewound and the rotor balanced as needed, machine work on the shaft, bearing fits, endbells, and keyways, brake pads and discs resurfaced or replaced where required, and full feedback alignment and testing before the motor ships.
If your testing points to shorted turns, an open winding, a grounded winding, or a mechanical failure inside the motor, the next step is a shop that can evaluate it properly and tell you honestly whether it's worth repairing.
IVS Incorporated has spent more than 30 years repairing industrial automation equipment, including AC and DC motors, servo motors, spindle motors, gearboxes, linear actuators, and motion control components from ABB, Allen-Bradley, Baldor, Fanuc, Indramat, Kollmorgen, Lenze, Reliance, Siemens, Yaskawa, and other major manufacturers.
Learn more about our motor repair and services, or see our drive repair services if the fault turns out to live upstream of the motor. Contact us to discuss an evaluation and turnaround time.
Lorem ipsum dolor sit amet, consectetur adipiscing elit. Suspendisse varius enim in eros elementum tristique.

Lorem ipsum dolor sit amet, consectetur adipiscing elit. Suspendisse varius enim in eros elementum tristique.
Lorem ipsum dolor sit amet, consectetur adipiscing elit. Suspendisse varius enim in eros elementum tristique.

Lorem ipsum dolor sit amet, consectetur adipiscing elit. Suspendisse varius enim in eros elementum tristique. Duis cursus, mi quis viverra ornare, eros dolor interdum nulla, ut commodo diam libero vitae erat. Aenean faucibus nibh et justo cursus id rutrum lorem imperdiet. Nunc ut sem vitae risus tristique posuere.
Lorem ipsum dolor sit amet, consectetur adipiscing elit. Suspendisse varius enim in eros elementum tristique. Duis cursus, mi quis viverra ornare, eros dolor interdum nulla, ut commodo diam libero vitae erat. Aenean faucibus nibh et justo cursus id rutrum lorem imperdiet. Nunc ut sem vitae risus tristique posuere.
Lorem ipsum dolor sit amet, consectetur adipiscing elit. Suspendisse varius enim in eros elementum tristique. Duis cursus, mi quis viverra ornare, eros dolor interdum nulla, ut commodo diam libero vitae erat. Aenean faucibus nibh et justo cursus id rutrum lorem imperdiet. Nunc ut sem vitae risus tristique posuere.


Ready to get started? Contact us.
Whether you need a repair/service or have a question, please feel free to send us a message using the form below.